
The smart mirror is an excellent engineering project, and the Raspberry Pi offers a flexible and affordable way to implement it. The smart mirror displays useful information such as time, weather, calendar, news, etc., and at the same time is a normal reflective mirror. The smart mirror is a beautiful hardware-software project for grasping concepts like Internet of Things (IoT), embedded systems, and user interface.
Components You'll Need:
1. Raspberry Pi (preferably Model 3B+ or Raspberry Pi 4 for the best performance).
2. Two-way mirror, or the other way to convert any regular glass into a smart mirror: smart mirror film.
3. Monitor-an HDMI-compatible monitor.
4. Power supply-accompany Raspberry Pi, 5V, 2.5A or above.
5. Wi-Fi dongle-if not using Raspberry Pi 3/4.
6. MicroSD Card - minimum 16GB size or higher for Raspberry Pi OS.
7. Setup keyboard, mouse, and HDMI cable.
8. Frame: Physical design of smart mirror.
9. Camera module (optional for face features or gesture control).
10. Speakers (optional for voice output).
11. Sensors (optional, used for motion detection, light sensors, and so on).
Steps to Build the Smart Mirror:
1. Prepare Raspberry Pi:
• Install Raspberry Pi OS (Raspberry Pi Imager should help).
• Prepare Raspberry Pi with a keyboard, mouse, and monitor for the first configuration.
• Connect to Wi-Fi and update the system using the terminal (in which use sudo apt-get update && sudo apt-get upgrade).
• Make sure you have Python 3 along with necessary libraries like Flask for web-based apps.
2. Install Magic Mirror Software:
- MagicMirror², an open-source platform, has seemingly been one of the innovative ideas in the smart mirror domain.
- You can install it using the following steps:
· curl -sL https://install.magicmirror.builders | bash
This will install the necessary files and dependencies.
3. Configure the Magic Mirror:
- Once you have installed it, navigate to the directory with MagicMirror installed (~/MagicMirror).
- Configuring the file config.js will allow you to set up the different modules that you want to display on your mirror.
- Common modules include:
I would quantify it as follows:
· Time and Date
· Weather: use any API, e.g., OpenWeatherMap.
· New feed - RSS or custom
· Calendar: Google Calendar integration done
· To-Do Lists: using Todoist or any of several other applications
· Traffic/Commute Information
· Social Media Feeds: Twitter, Instagram
You can set modules to enable or disable in the config.js file.
4. Set Up Two-Way Mirror:
Cover the reflective surface with a two-way mirror sheet (also called one-sided glass). Attach the mirror to the front of the display. The two-way mirror reflects light emanating from the hidden monitor behind it but allows the display to be seen through the mirror, creating the smart effect.
Alternatively, you can use a regular sheet of glass with an adhesive smart mirror film.
5. Assemble the Frame:
• Construct or acquire a premade frame to mount the monitor and two-way glass.
• Ensure that the frame has adequate room for the Raspberry Pi, the wiring, and the power supply.
• Consider ventilation cutouts to prevent overheating of the Raspberry Pi.
6. Set Up Display Mode:
- It is generally desired for the mirror to operate in full screen kiosk mode (i.e., it shows the smart mirror interface alone).
- Either edit the config.js file or run commands that enable the MagicMirror application to start upon booting the Raspberry Pi:
- sudo nano /etc/rc.local
Add this line before exit 0:
sudo -u pi DISPLAY=:0 npm start
7. Test and Debug:
• Once the establishment is completed, restart Raspberry Pi.
• The MagicMirror software should automatically initiate.
• Ensure that each module displays correctly and adjust the configuration as appropriate.
8. Optional Features:
• Facial Recognition: Need to face recognition for displaying personal information.
• Voice interaction: We can use voice assistants like Google Assistant or Amazon Alexa (needs some integration).
• Motion sensors: Use motion sensors through which the mirror activates only when someone is in front of it (through PIR sensor).
• Weather sensors: Add external sensors like temperature and humidity to display real-time local data.
Final Thoughts:
Hardware and software components together justify the use of this project as a good engineering one. One could customize further with optional features like gesture control via a camera, voice commands, or even hooking into a home automation system. The possibilities for customization are endless. The knowledge gained here will be very relevant to working in IoT and embedded systems.
Wishing you all the best in constructing your intelligent looking glass! Get more info at TAKEOFF PROJECTS
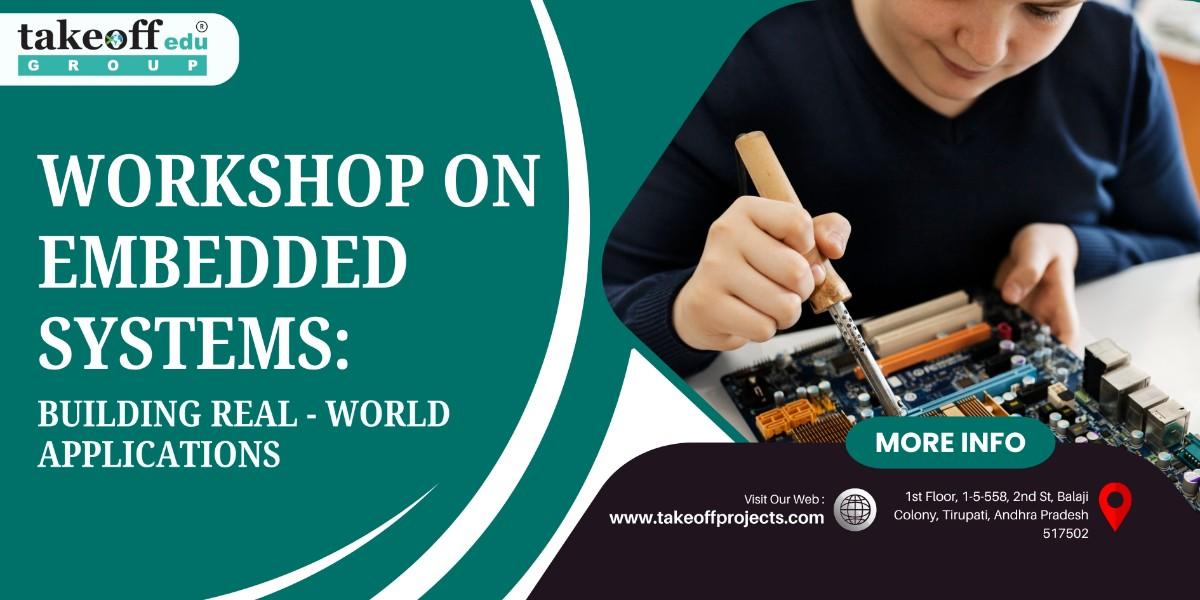 Workshop on Embedded Systems: Building Real-World Applications
  Top Internship Training & Certificate
  Internship Benefits Beyond the Resume: How It Shapes Your Career
  Internship to Job: 7 Proven Tips to Get Hired Faster
  Day in the Life: A Glimpse into the Realities of Internship Experience
  Internship Insights: What Recruiters Look for in Candidates
  Why Internships Matter: Building Bridges to Your Future Career
  Best Major & Mini Project Ideas for Engineering College Students
  Top B.Tech/M.Tech Engineering Projects Consultants & Services
  Engineering Project Ideas & Topics for Students
 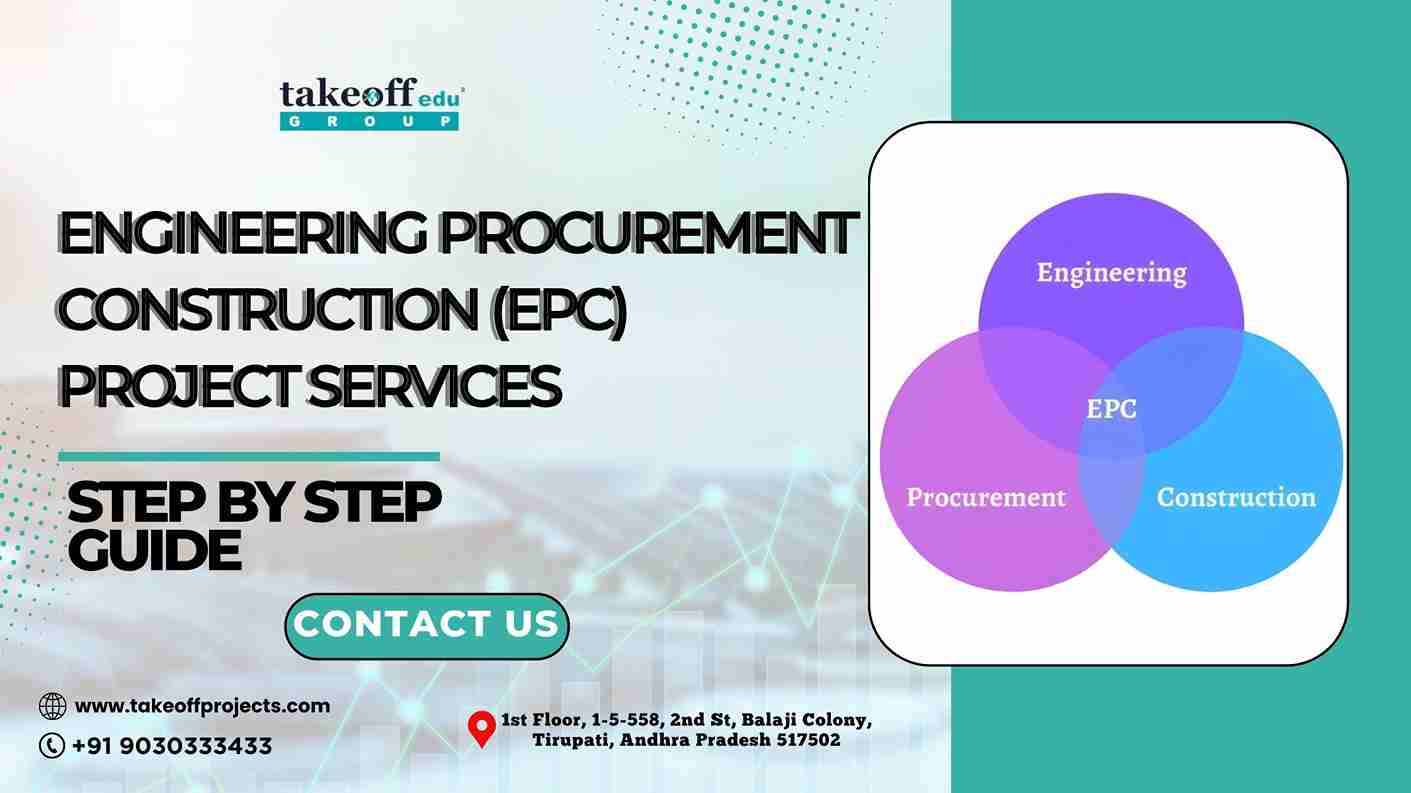 Engineering Procurement Construction (EPC) Project Services: Step By Step Guide
  IEEE Projects in Tirupati
 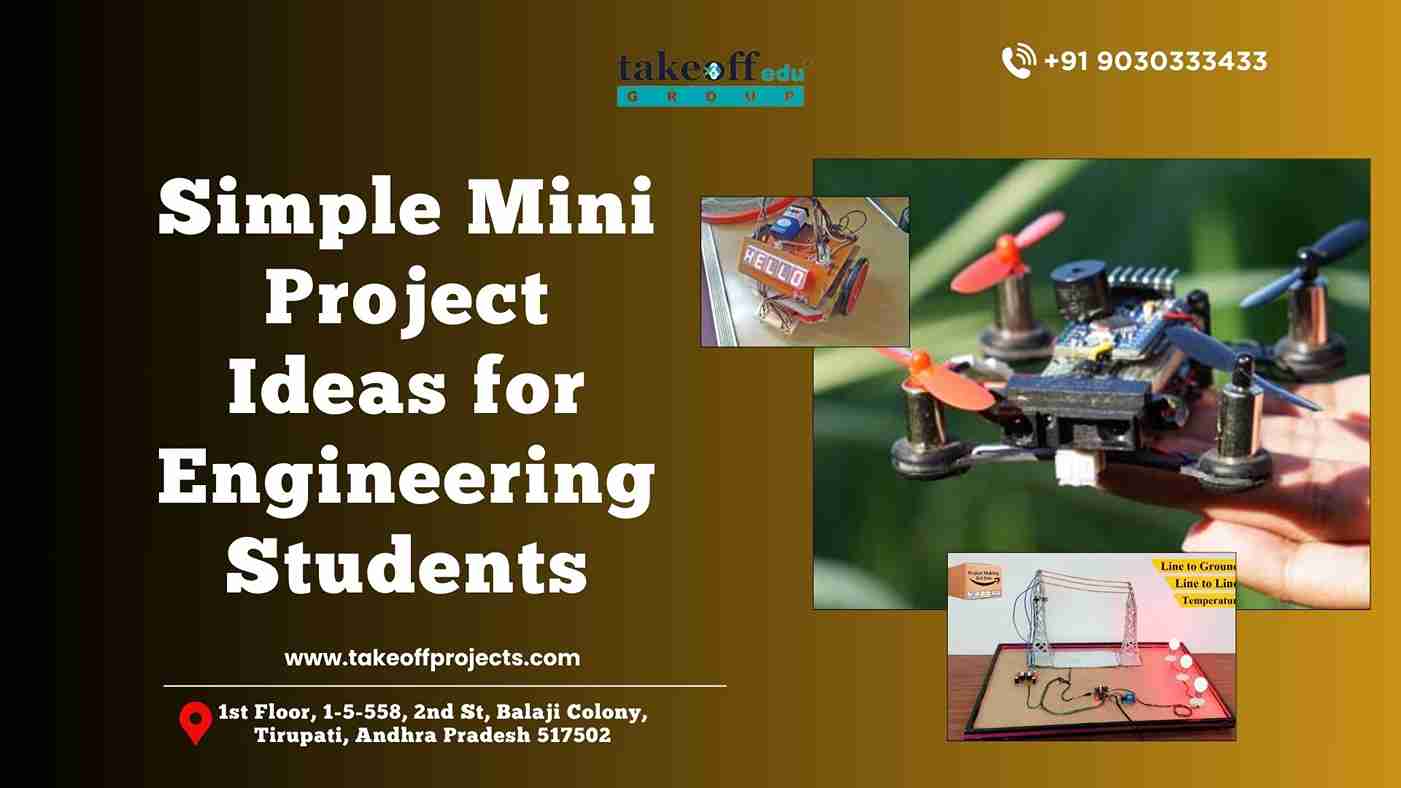 Simple Mini Project Ideas for Engineering Students
 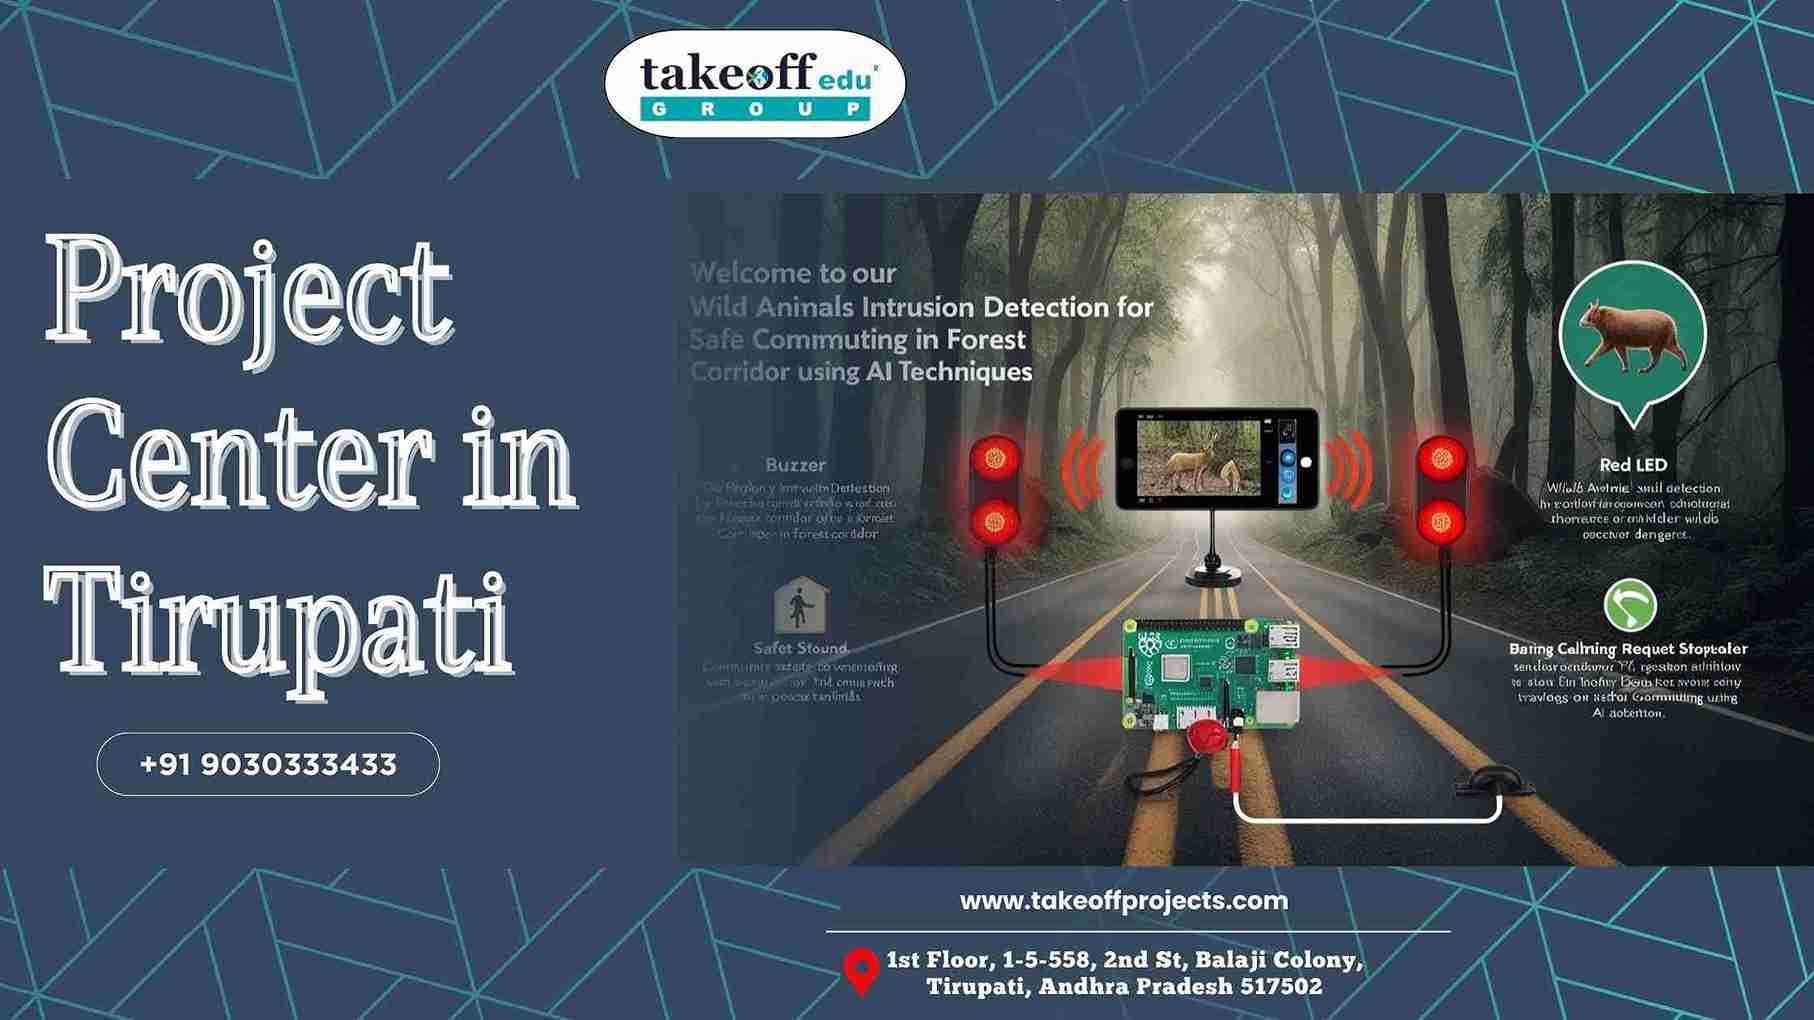 Project Center in Tirupati
  Top Engineering Project Consultants in Tirupati
  Innovative Software Engineering Projects: Shaping the Future of Technology
  Major Current and Upcoming Projects
  Best Project Management Consultant in Tirupati
  Top 10 Best Project Consultants in Andhra Pradesh
  Best Project Consultancy in Tirupati
  Advanced Technology Project Ideas in Chittoor
  Top Final Year Project Provider in Tirupati
  Mini and Major Projects in Chittoor
  Final Year Projects in Tirupati: Unlocking Your Academic Potential
  Affordable Academic Projects in India: A Gateway to Success
 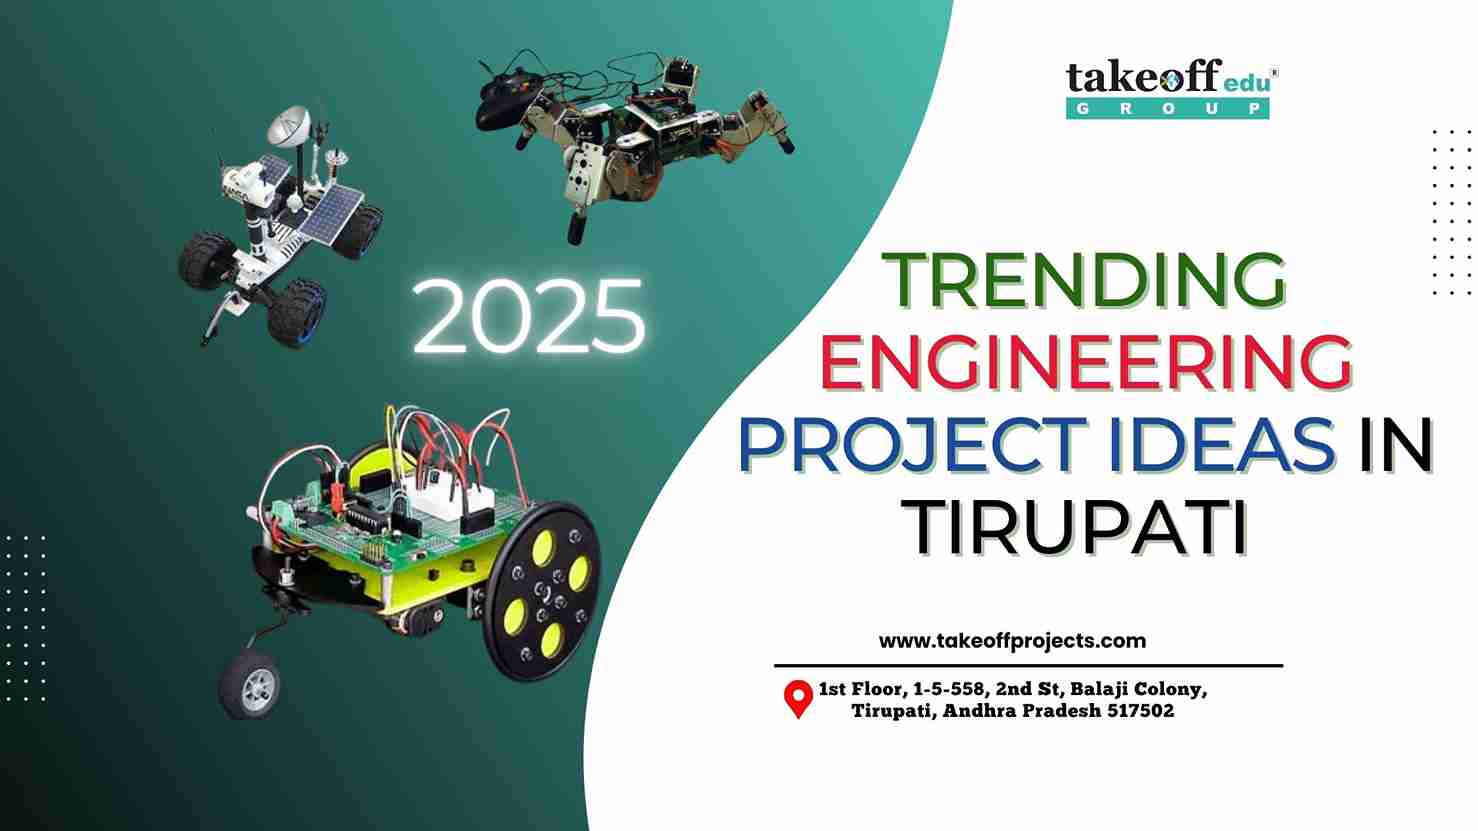 Trending Engineering Project Ideas in Tirupati 2025
  Technical Project ideas for engineering students
  How Do I Choose A Project Topic Titles For Final Year Engineering Students?
  Find Best College Project Centers in Andhra Pradesh
  Latest Engineering Project Ideas for 2025
  Top Engineering Project Work in Vizianagaram: Empowering Student Success
  Final Year Project Ideas for Students in Chittoor
  Project Ideas for College Students in Telangana
  Top 10 Mini Project Ideas for College Students
 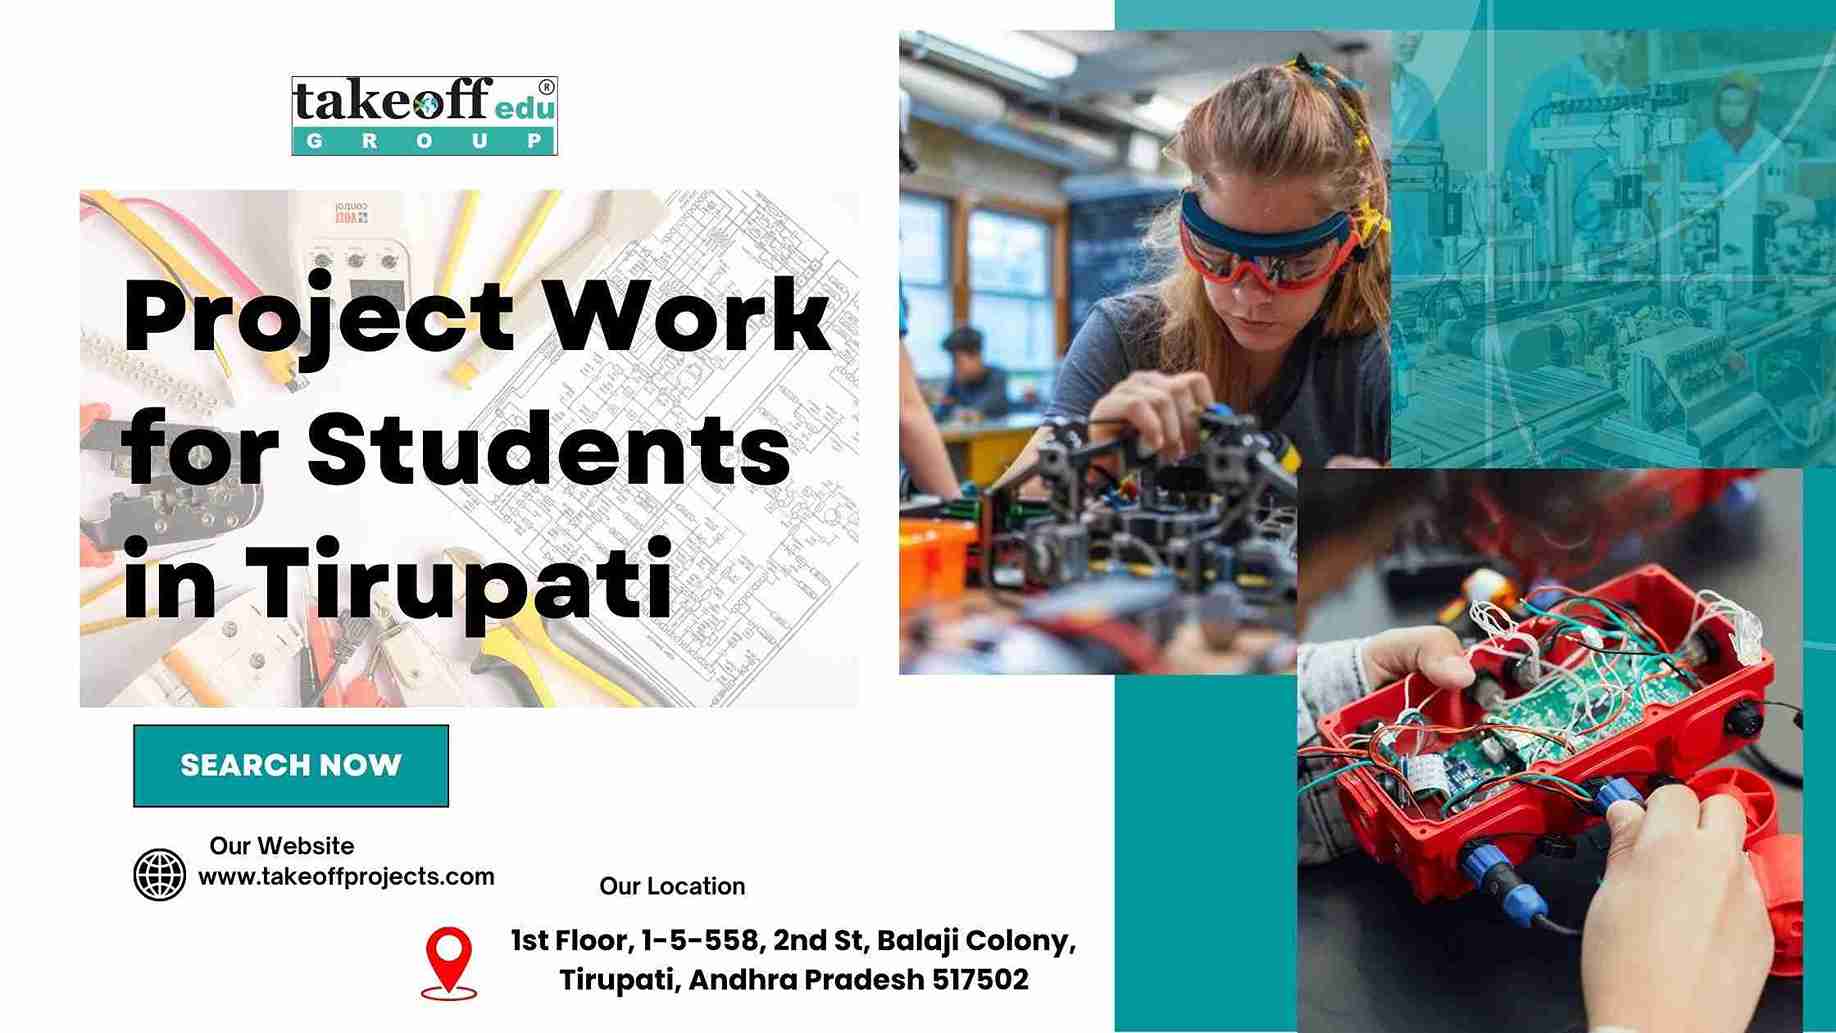 Project Work for Students in Tirupati
 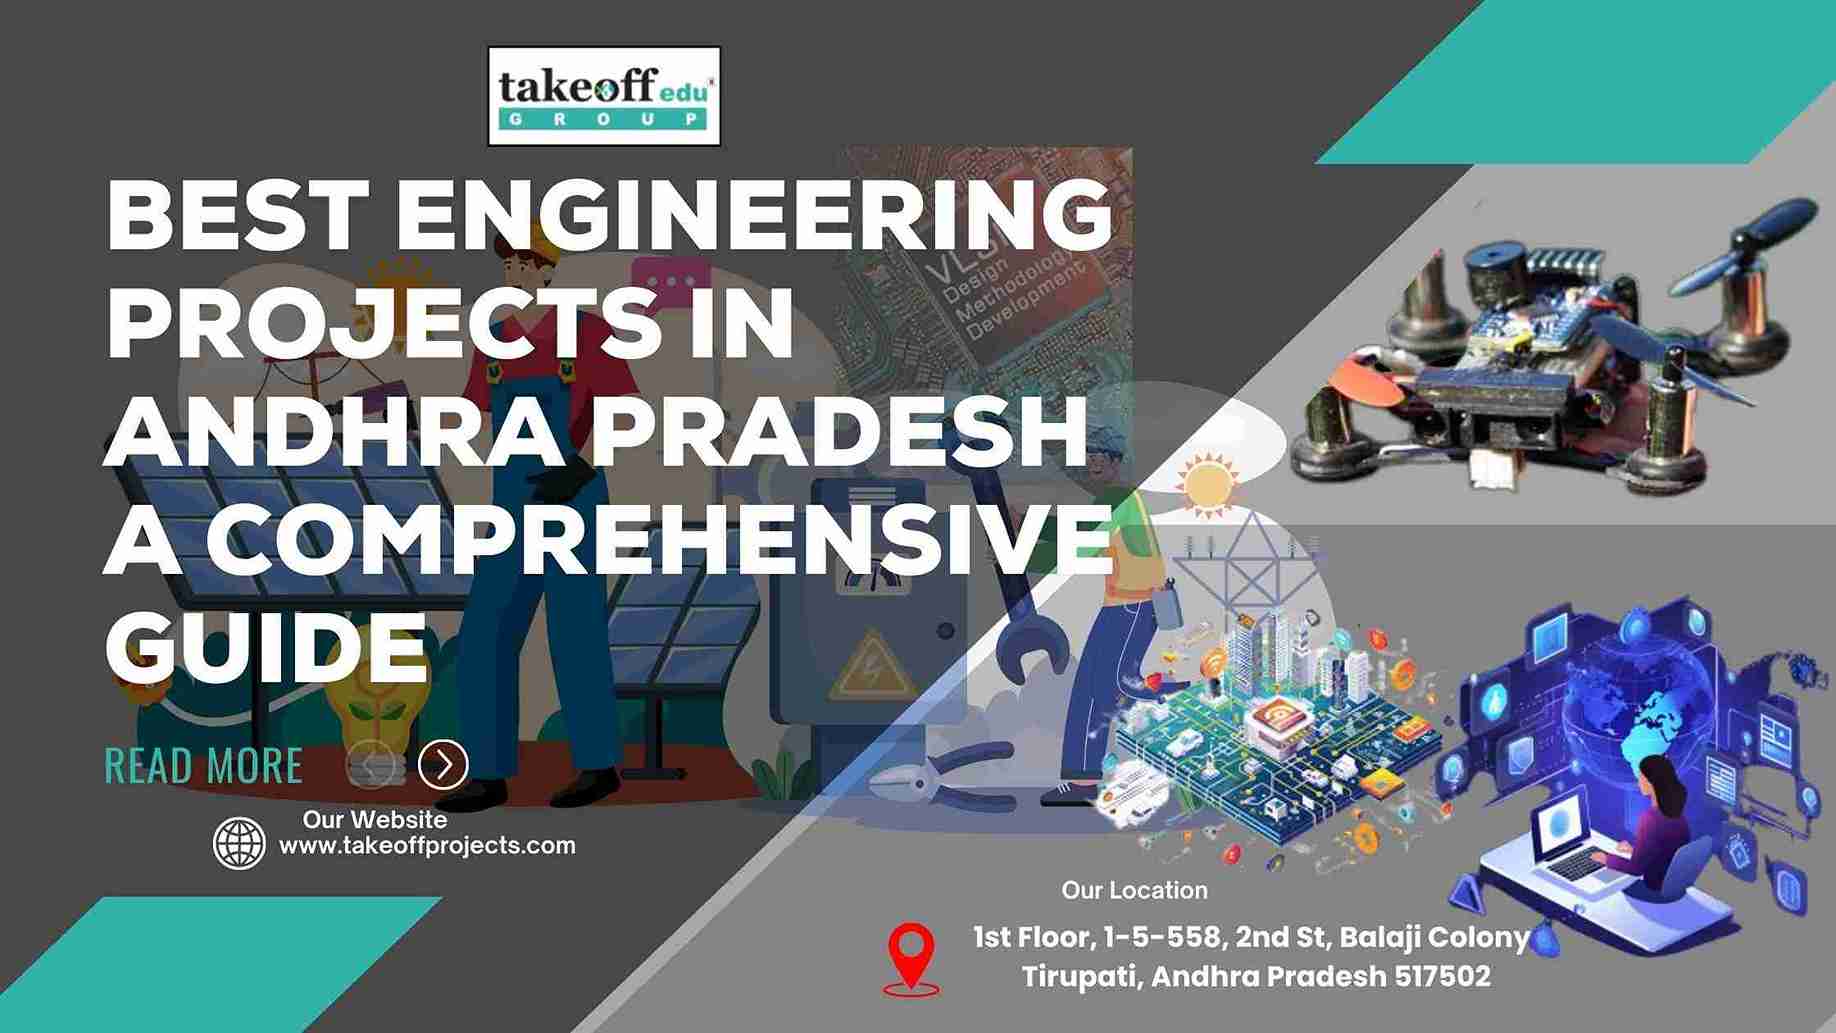 Best Engineering Projects in Andhra Pradesh: A Comprehensive Guide
  Using Cloud-Based Tools for Collaborative Research Projects
  Advantages of Undergraduate Research Opportunities
  How to Prepare for Academic Research Conferences
  Understanding the Different Types of Academic Research
  Navigating the Peer Review Process: Tips for Success
  How to Write the Abstract for a Research Paper
  The Impact of Academic Research on Policy Making
  Exploring Open Access Journals for Academic Publishing
  The Role of Academic Journals in Disseminating Research
  How to Balance Coursework and Research Projects: A Guide to Academic Success
  The Importance of Research Ethics Committees
  Innovative Teaching Methods to Support Academic Research Projects
  Creating Impactful Visual Aids for Research Presentations
  The Benefits of Peer Review in Academic Research
  Surveys and Questionnaires are Effective in Academic Research
  Importance of Documentation Record-Keeping in Academic Research
  Overcoming Challenges in Academic Research Projects
  Leveraging Online Resources for Academic Research
  Successful Academic Projects in Computer Science: Case Studies
  Building a Research Network: The Importance of Conferences and Workshops
  How Technology Affects Academic Research?
  Getting Funding for Your Research Project: Tips and Resources
  Time Management Strategies for Academic Researchers
  Ethical Considerations in Academic Research
  How to Write and Publishing Your Academic Paper?
  Presenting Your Research: Guidelines To Consider When Making An Academic Presentation
  Analyzing Research Data: Effective Techniques in Engineering Projects
  Best Practices for Conducting a Literature Review
  Writing a Winning Student Research Proposal: A Step-by-Step Guide
 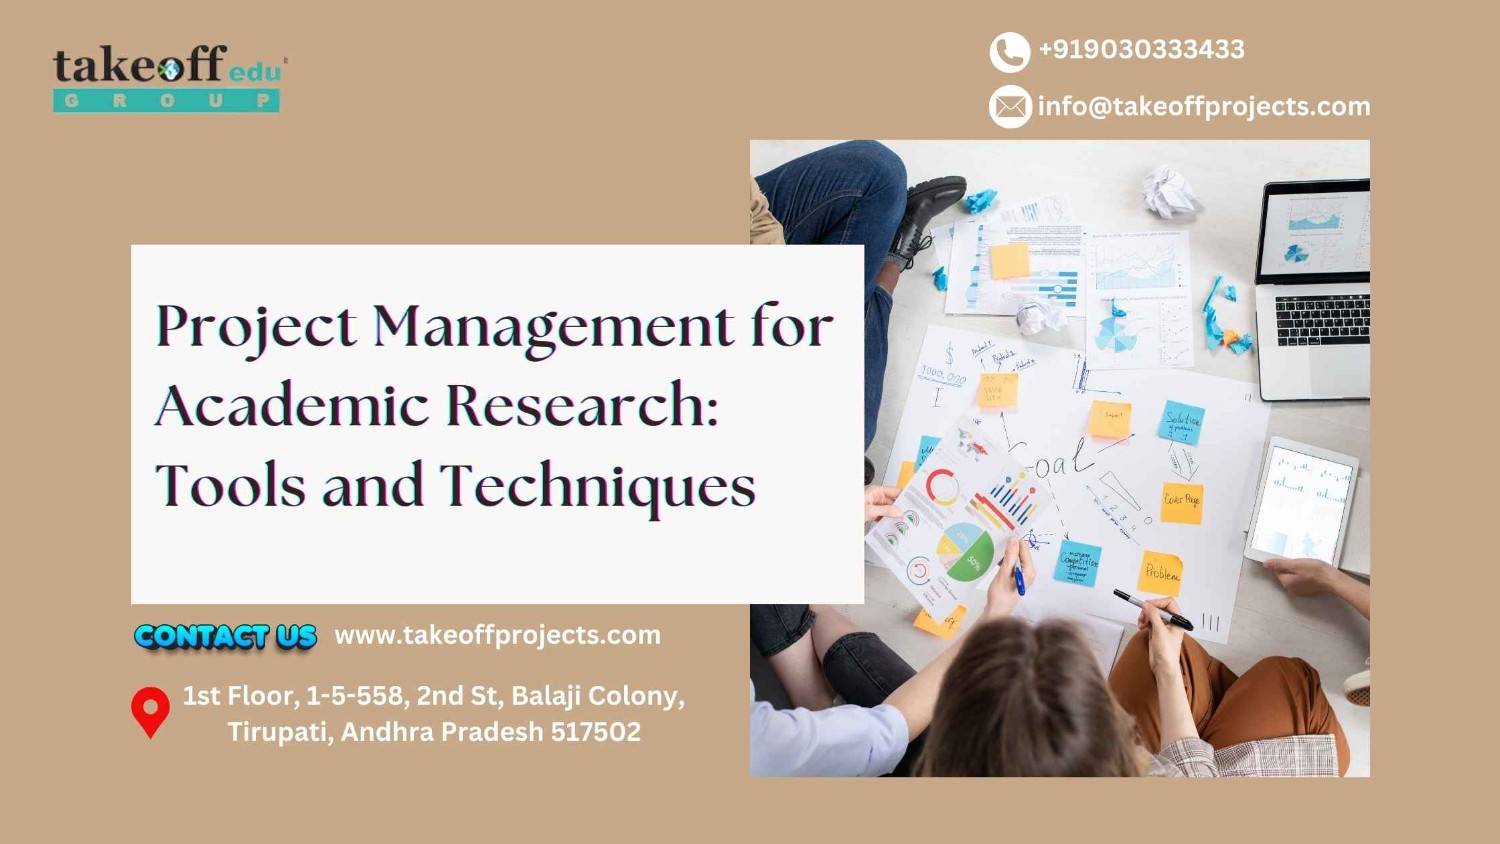 Project Management for Academic Research: Tools and Techniques
  How to Choose the Perfect Academic Project Topic?
  Presenting Final Year Project to Your Supervisor
  Trending Engineering Projects in 2024 Future-Ready
  Innovative Renewable Energy Project Ideas
  How Engineering Projects Ideas to contribute your academic year?
  Latest Engineering Projects in 2024
  Ethical Considerations in Image Processing: Balancing Innovation and Privacy
  From Pixels to Insights A Journey into Image Enhancement Algorithms
 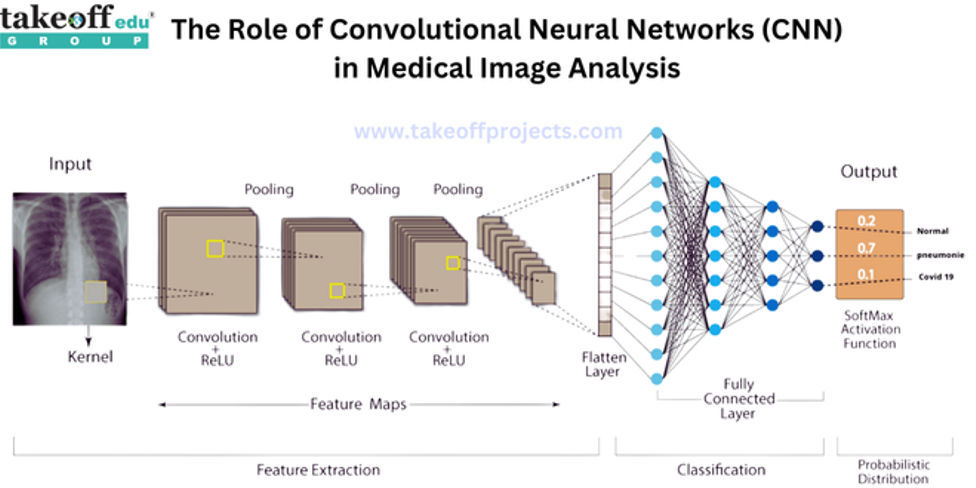 The Role of Convolutional Neural Networks in Medical Image Analysis
  Advancements in Image Segmentation Techniques: A Comprehensive Overview
 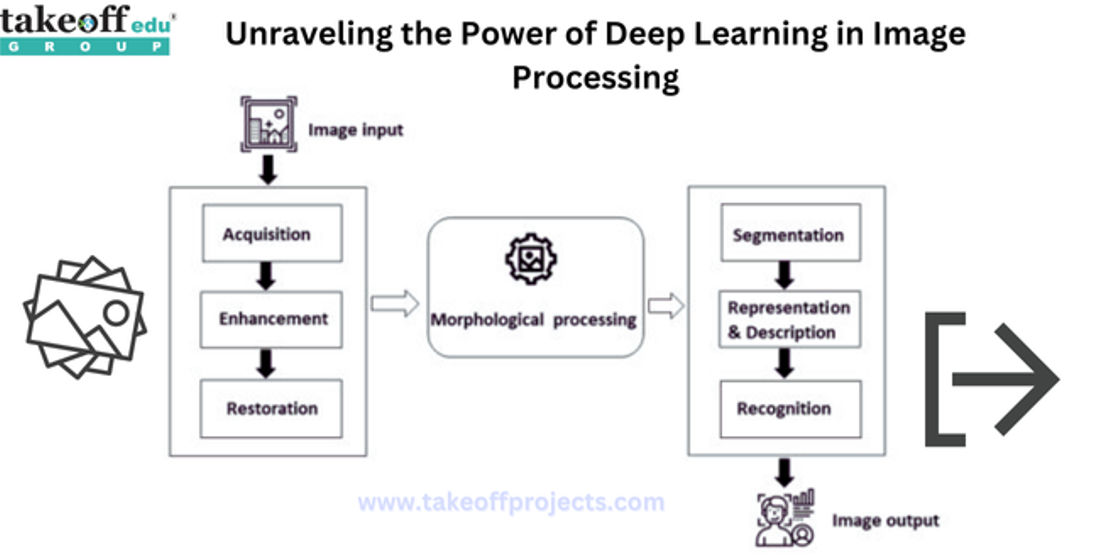 Unraveling the Power of Deep Learning in Image Processing
 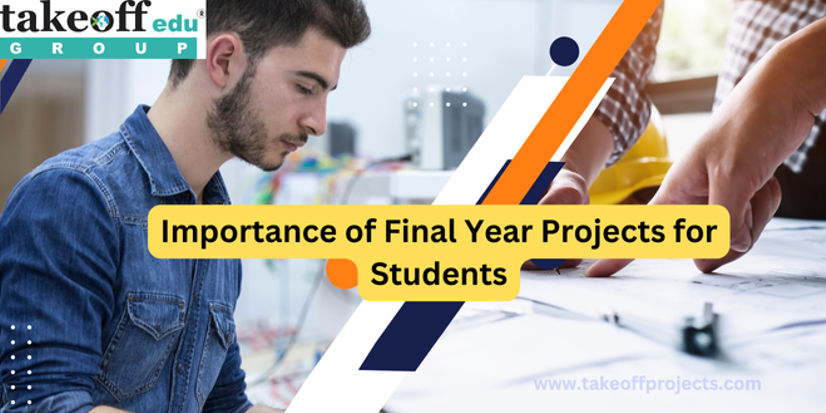 Importance of Final Year Projects for Students
  How to Present Your Final Year Project to Your Supervisor?
  How to Choose the Right Final Year Project Topic?
  Common Mistakes to Avoid on Your Final Year Project
  How to Write a Winning Engineering Project Report?
  Low Cost Mini Projects Ideas for Civil Engineering
  Low Cost Mini Project Ideas for Mechanical Engineering
  BSc IT Projects for Final Year
  Instrumentation Projects for Final Year Students
  Biomedical Instrumentation Projects
  M.Tech Structural Engineering Projects
  M.Tech Thesis Writing Services
  M.Tech Projects for Electrical, Electronics & Software Engineering
  Latest Final Year Projects for B.Tech & M.Tech Students
  2023 B.Tech Final Year Projects for Students
  Latest BCA Final Year Project Ideas for 2023
  Top BE Projects Ideas & Topics for Students
  14+ Interesting Engineering Projects
  IEEE Final Year Projects
 Paper Publishing


